Plyo Box: How to build a box jump – Garage Gym Builder
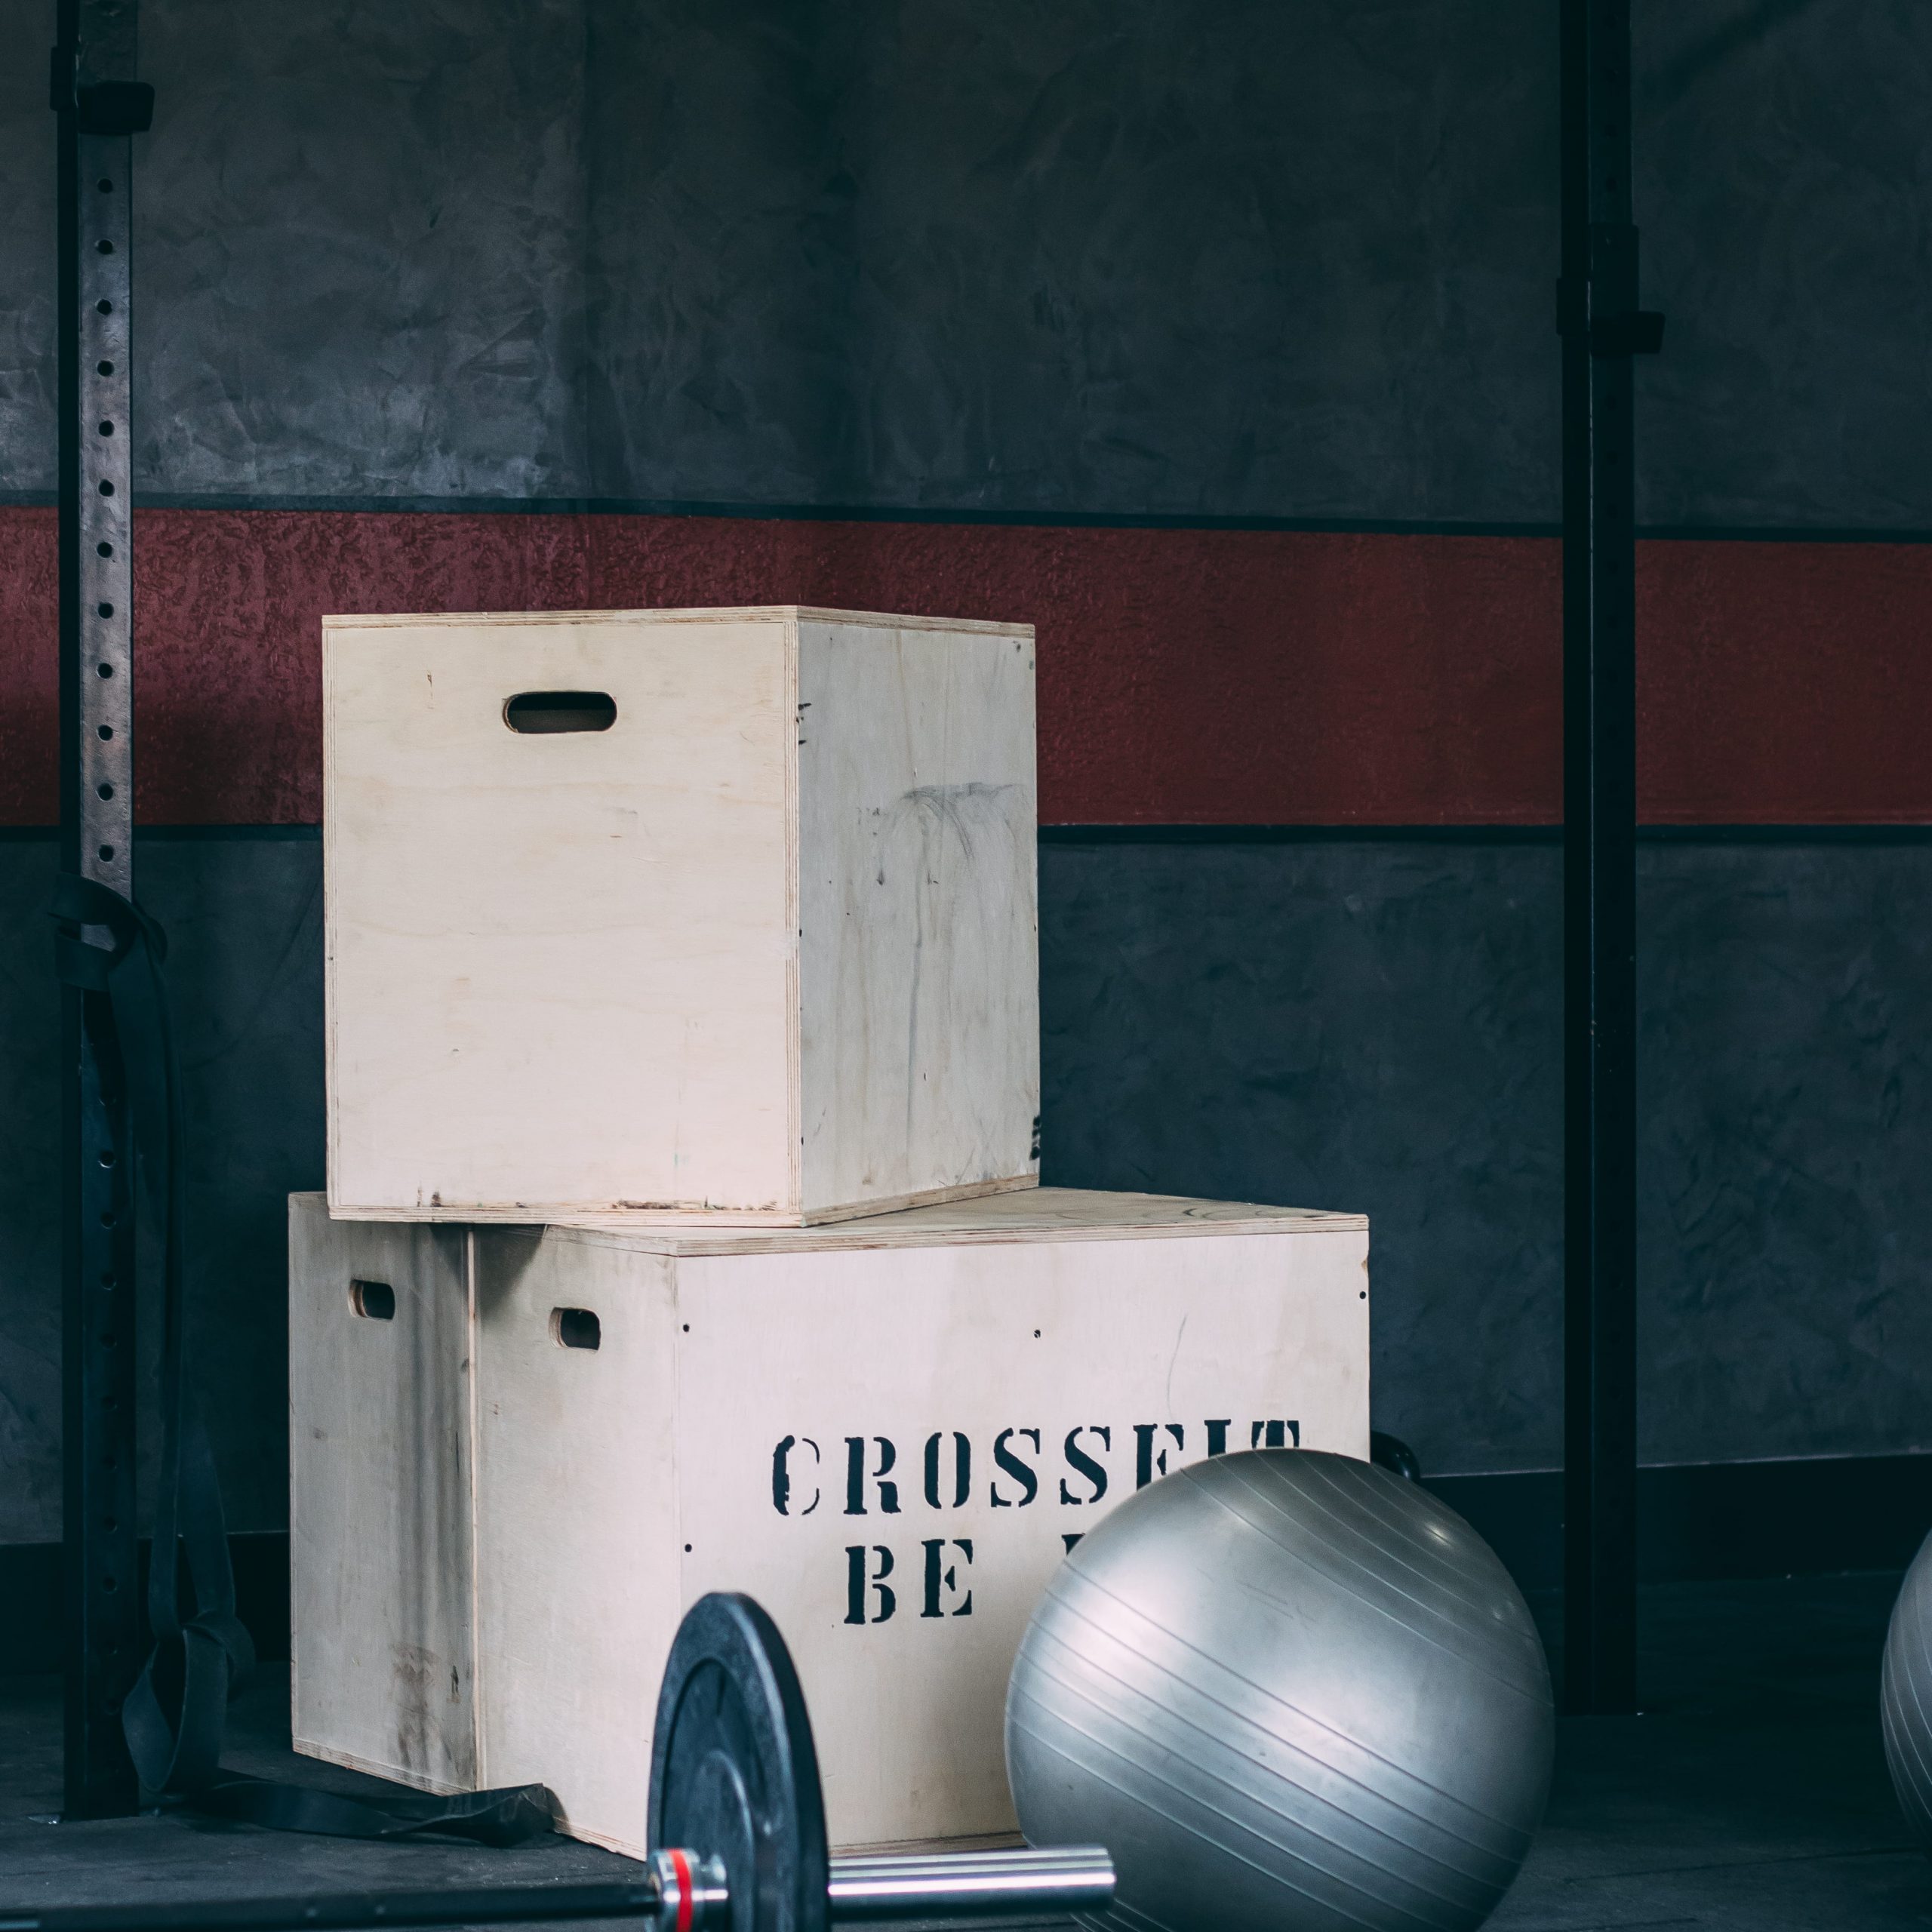
Plyo Box Jumps are a fantastic exercise for improving your balance, coordination, agility, and explosive power. They are also a great way to burn calories. Having a Plyo box in your home gym is a smart move. The poly box hardly takes up any room but adds a whole new training dimension to your workout space.
Buying a plyo box, however, can be expensive for what it really is, a few pieces of plywood put together. For a perfect, multi-level wooden box, you are going to be paying well more than a hundred bucks. But there is another option; make your plyo box. In this article, we will provide you with a complete step-by-step guide to building your own wooden 3-in-1 plyo box. You will end up with jumping heights of 20, 24 and 30 inches with this plyo box.

Here’s What You’ll Need
The wooden 3-in-1 plyo box plans that we will follow allows you to build your plyo box from a single 48 x 96-inch sheet of three quarter inch plywood. Any grade of plywood will work. In addition to the wood, you’ll need some screws (2.5-inch coarse thread general purpose), an electric or hand saw, drill and screwdriver. You’ll also need a drill or impact driver with a bit that matches the screws and a 24-inch straight-edged ruler.
- 3/4″ plywood
- 2.5-inch coarse general purpose screws
- Electric or Hand Saw
- Drill and Drill Bit
- Screwdriver
- 24″ straight edge ruler
Here’s How To Put It All Together
- Lay out your board so that it is landscape. You will now mark your cuts with a ruler and pencil. The first cut line will be 20 inches in from the edge and straight down to the end of the board. From that line mark the next point exactly 19 inches further along and down. The third mark is 28.5 inches further across and down. It will give you four different board sections that are 20 inches, 19 inches, 28.5 inches and 28.5 inches wide.
- Come back to the first 20-inch wide section. Come down half way (24 inches) and draw a line across from the edge to the 20-inch line. In the second section, there is no horizontal line. In the third section of the board, which is your first 28.5-inch wide section, come down 18.5 inches and draw a horizontal line. Then come down another 11 inches and draw another horizontal line. It will leave you with another 18.5-inch section at the bottom of this section. For the last part of the board, come down 24 inches, which is halfway, and draw a horizontal line. You now have all of your cutting lines.
- Cut out all of your boards and lay them out on the floor. You will end up with two boards that are 24” x 20” which will be the end caps of the box. The side walls of the box will be comprised of the four remaining large boards. The 11-inch piece that remains will form a cross brace.
- Use the four large boards to build the outer wall structure of the box. Lay one of your end caps on the ground and make your box around that. You may want to get someone to help you hold the sides in position as you fix your screws along the edges of the boards. Use 2.5-inch coarse thread general purpose screws with a bugle head. If you have the walls appropriately assembled, the end caps will sit flush.
- Place the end cap on the top of the box. Now take a piece of 2 x 6 timber and place it on the end cap to trace the rectangular outline of a handle. Place the 2 x 6 a few inches in and down from the edge and trace around it with your pencil. Now take a drill with a 5/8th inch bit and drill a hole in each corner of the rectangle you have just drawn. Then use a jigsaw to cut along the lines to cut out your handle shape. Be sure to wear goggles when operating the jigsaw. Repeat this process on the other end cap to provide a matching handle hold on the other side of the box.
- Screw down one of the end caps, using three screws on each side of the board.
- Take your remaining 11-inch piece of bracing board and place it right in the middle of the box so that it comes out to the half-way point. Place four screws evenly from the outside of the board to go into the 11-inch cross brace. You also need to place screws along the top edge of the cross brace that meets the end cap. The end cap that fits the cross brace will be the top of the box, and you should mark it as such. It will help to transfer the load when you are jumping into the top of the box.
- Place the find end cap onto the box and screw it into place.
- Sand the box to smooth it out and get rid of any sharp edges and your homemade wooden plyo box is done.
And That’s Basically it!
In about an hour, if you’re already used to building stuff, you should be able to construct this 3-in-1 wooden plyo box, which, is a great addition to any garage gym, as well as a great way to burn calories. In doing so, you will save yourself around a hundred dollars and have the satisfaction of training on your purpose-built piece of plyometric training equipment. If you find it hard to make one, why not check out this article in which we have reviewed the best plyo boxes as well as the cheapest ones you can find in the market.